


Introduction
Removing outdated wallpaper is a crucial first step to ensure your paint job looks professional and lasts long. Learning how to remove old wallpaper properly, followed by prepping walls after wallpaper removal, ensures that the new paint adheres smoothly and without imperfections. In this guide, we’ll take you through the process of removing old wallpaper, cleaning the walls, and repairing any damage to get your surfaces ready for a fresh coat of paint. With the right tools and techniques, you can achieve a flawless finish.
Best Techniques to Remove Old Wallpaper Efficiently
When it’s time to update your walls, the first step is to remove old wallpaper properly to avoid damaging the underlying surface. Start by testing a small area to determine if your wallpaper is peelable or glued. For peelable wallpaper, simply lift a corner and slowly pull it off. If the wallpaper is more stubborn, use warm water or a wallpaper-stripping solution to soften the adhesive. A wallpaper steamer may be necessary for tougher jobs. After the wallpaper is removed, be sure to clean the walls thoroughly to remove any leftover glue or residue.
Gather the Necessary Tools
Before getting started, make sure to gather all the essential tools and materials you’ll need for the job:
- Wallpaper steamer or scraper
- Sponge and bucket
- Drop cloths or plastic sheeting
- Scoring tool (for stubborn wallpaper)
- Protective gloves and goggles if using chemicals Having these supplies on hand will make the process faster and more efficient.
Protect the Room
Start by covering the floors and any furniture with drop cloths or plastic sheeting to protect them from water, adhesive, and wallpaper debris. Turn off electrical outlets in the area and cover switches and sockets with tape or plastic to protect them from moisture during the removal process.
Test the Wallpaper
Before diving in, determine the type of wallpaper you’re dealing with. Test a small section by peeling it back with a scraper or your fingernail. Some wallpapers are strippable and will peel off easily, while others may require more effort, such as soaking with water or using a steamer.
Remove the Wallpaper
- Peelable wallpaper: If your wallpaper is strippable, begin by loosening a corner and carefully peel it back from the wall, pulling slowly to avoid tearing or damaging the surface underneath.
- Traditional wallpaper: For older wallpaper, soak the surface with warm water or a wallpaper stripping solution. Allow the solution to soak for a few minutes to soften the adhesive, then gently use a scraper to lift the wallpaper without damaging the wall beneath.
- Stubborn wallpaper: For tough wallpaper, score the surface with a scoring tool, then apply a stripping solution or use a wallpaper steamer to loosen the glue before scraping.
Clean the Walls
Once the wallpaper is removed, the next step is cleaning the walls. Use a sponge and warm water mixed with mild detergent to remove any leftover adhesive or residue. Be thorough—leftover glue can interfere with paint adhesion. Ensure the walls are fully dry before moving on to the next step, as this helps to prevent any issues with paint adhesion or uneven surfaces later.
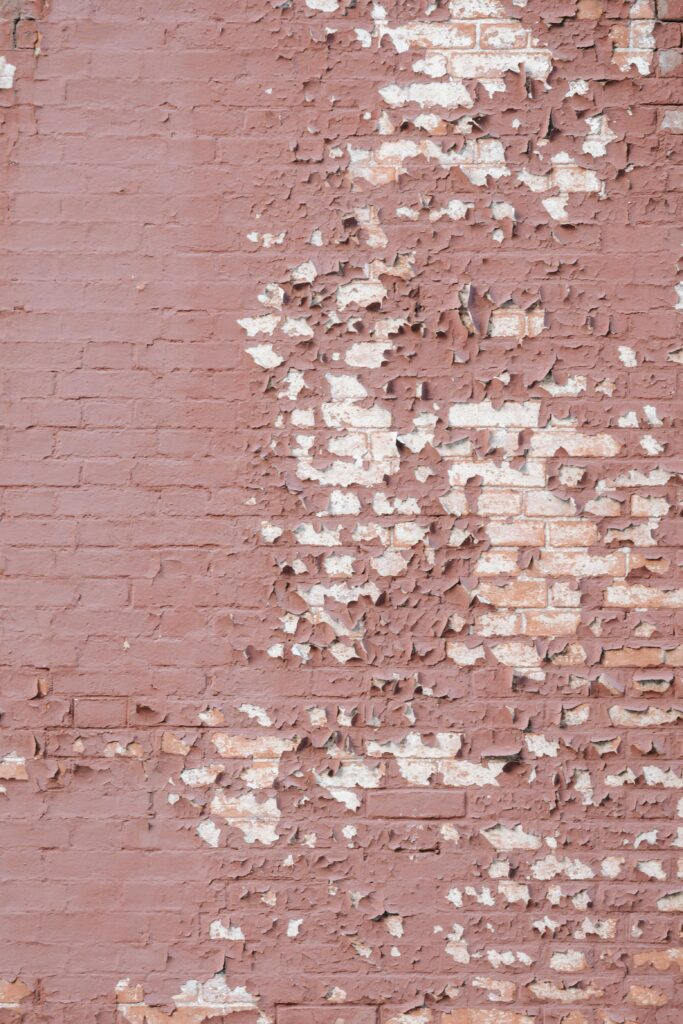
Repair Any Wall Damage
Wallpaper removal can sometimes leave behind small holes, cracks, or dents. Apply spackle or filler to patch up any imperfections. Once the filler has dried, carefully sand the areas until smooth to create a flawless, even surface ready for painting.
Sand the Walls
To achieve a flawless finish, gently sand the entire wall surface, ensuring it’s smooth and ready for a fresh coat of paint. This helps to remove any leftover rough patches and ensures the paint will go on evenly. Be sure to wipe the walls down with a damp cloth to remove any sanding dust.
Prime the Walls
Priming the walls is an essential step after wallpaper removal. Primer helps seal the surface, prevents paint from soaking into the wall, and creates a smooth base for the paint. Choose a primer that is designed for walls that have had wallpaper removed.
Inspect the Wall Before Painting
Before you begin painting, inspect the walls for any areas you may have missed during cleaning or repair. Perform any final touch-ups and inspect the wall to confirm it’s perfectly smooth, ensuring a seamless and professional-looking paint job.
Conclusion
Removing old wallpaper and prepping your walls may take time, but the effort pays off when your fresh paint adheres beautifully and lasts longer. By following these steps, you’ll ensure a smooth and professional-looking finish for your newly painted walls.
FAQs
- Can I paint directly over wallpaper?
- It’s not recommended, as the paint may not adhere well and could cause bubbling or peeling later.
- How do I know if my wallpaper is strippable or glued?
- Test a small section by peeling it back. If it comes off easily, it’s likely strippable. If not, it’s probably glued.
- How long should I let the walls dry completely before starting the painting process?
- Allow at least 24 hours for the walls to dry completely after removing wallpaper and cleaning them.
- What type of primer should I use after wallpaper removal?
- Use a high-quality latex or oil-based primer designed for walls that have been stripped of wallpaper.
- What’s the best way to remove stubborn wallpaper glue?
- Use a solution of warm water and mild detergent, or a commercial adhesive remover, and gently scrub the area with a sponge.


